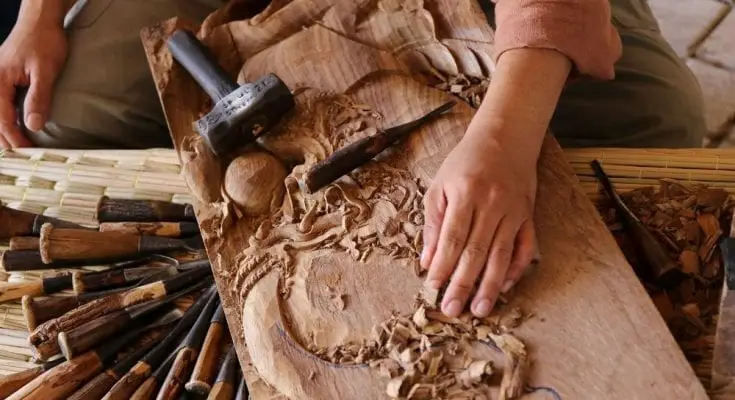
Artistic expression requires creativity and a medium by which to present it. For many, this medium is wood. Woodworkers and carvers create some of the most beautiful masterpieces with incredible attention to detail. If you want to hone your woodworking skills, here are a few wood carving techniques you must try.
Plan Your Cuts
The first thing you’ll want to do is plan your cuts. If you want a piece to turn out exactly as you imagine, you should pencil it out first. Draw your vision on a piece of paper so you have a solid, unchanging reference point. Then, plan your cuts on the wood itself, taking the depth and shape into consideration. You don’t want your figure’s eyes and ears at different levels. You’ll also want to do the largest chip cuts first, so you have a firm starting point that won’t impact the smaller details.
Use Wood Burning for Texture
Wood carving utilizes many tools beyond the simple chisels and gouges. Wood burning is a technique many people use to create texture and color differences without paint. A hot piece of metal burns the top layer of the wood, darkening the burned section in contrast to the lighter untouched areas. You can also use lasers to cut and engrave wood pieces into the shapes you desire.
Switch up the Layers
Artists utilize positive and negative space when crafting paintings and other art—woodworking is no different. You can carve around certain features to give the impression of a shape. Relief carving is a technique in which you remove the background entirely in order to raise the foreground. This is a handy option for rendering figures and objects in contrast to a scenic backdrop.
No matter what kind of woodworking you do, utilize these wood carving techniques you must try on your next project. With a well-placed chisel and planned-out design, your precision and productivity will increase dramatically.
How do I get started carving wood?
The first thing you’ll want to do is plan your cuts. If you want a piece to turn out exactly as you imagine, you should pencil it out first. Draw your vision on a piece of paper so you have a solid, unchanging reference point. Then, plan your cuts on the wood itself, taking the depth and shape into consideration. You don’t want your figure’s eyes and ears at different levels. You’ll also want to do the largest chip cuts first, so you have a firm starting point that won’t impact the smaller details.


