
Crimping cavity connector wires may seem straightforward, but getting it right requires precision, the proper tools, and a clear understanding of best practices. Whether you’re a part of the auto community, a DIYer, or an electrical engineer, this guide provides a few tips and tricks when crimping cavity connector wires to help you achieve secure and effective connections.
Poorly crimped wires can lead to a range of issues, such as electrical malfunctions, increased resistance, or even accidental disconnects. For automotive systems, these faults could result in unreliable performance or a potential safety hazard. Mastering proper crimping techniques ensures your connections are durable, reliable, and capable of handling the stresses of use over time.
Not all crimping tools are equal. To get the best results, pick a tool specifically designed for your wire gauge and connector type. For cavity connectors, ratcheting crimpers deliver consistent pressure and reduce the chance of errors. Always inspect your tools for wear, as a tool in poor condition can compromise the crimp’s integrity.
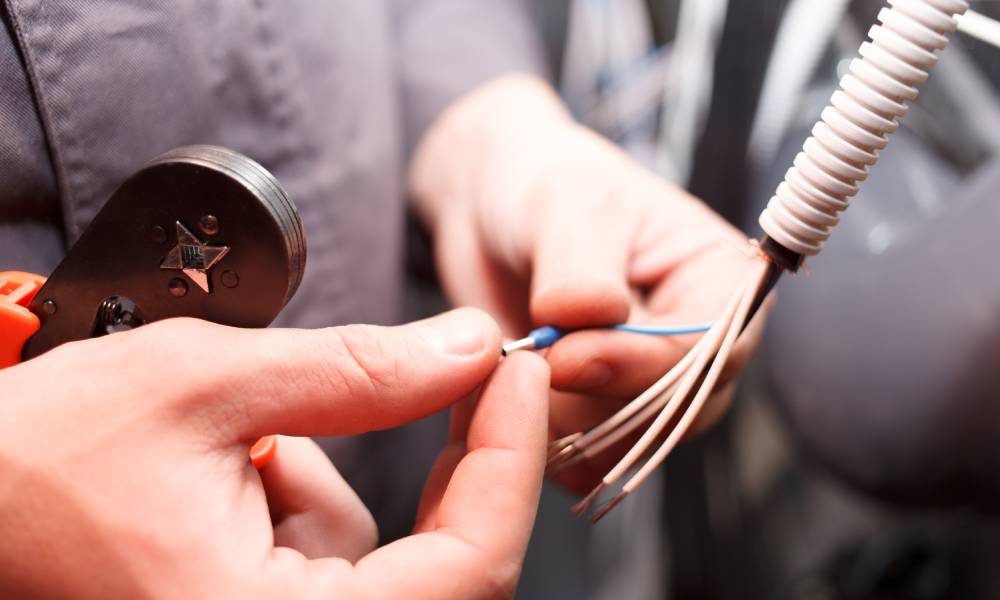
Before you reach for the crimping tool, take time to properly prepare the wires. Strip only the insulation necessary to fit snugly into the connector barrel. Exposing too much wire increases the risk of shorts, while removing too little results in improper crimping.
Make sure the stripped wire is free of nicks or damage to maintain full conductivity. Clean the wires if they appear to have any dirt, grease, or oxidation, as this could hinder the electrical connection.
Achieving a reliable crimp begins with consistent alignment. Insert the prepared wire fully into the connector barrel and confirm that no strands are left outside. Position your crimping tool precisely on the barrel and apply even, firm pressure.
Rotate the crimp slightly to inspect for symmetry—uneven crimps cause weak connections. Testing the strength of your connection before moving on can save you from potential headaches later.
When dealing with termination methods for 6-cavity connectors, patience is a virtue. Make sure each pin sits solid within its cavity and double-check alignment as you secure adjacent wires. Misalignment creates gaps or electrical instability. Use a continuity tester after completing the terminations to confirm all wires connect properly.
One of the most frequent mistakes is using the wrong gauge wire for your connector. This error leads to loose crimps or wires that are too thick to fit properly.
Avoid applying uneven pressure with your tool, as this can damage the connector or compromise crimp quality. Lastly, never skip quality checks—double-check every connection for firm seating and proper alignment before completing your project.
Properly crimping cavity connector wires is about precision and attention at every stage, from wire preparation to final inspections. With the right tools, steady hands, and the tips outlined above, you can ensure every connection meets the highest standard of reliability and safety.
Learn the best methods for soil sampling, from grid and zone sampling to accurate sampling…
If your truck isn’t as comfortable as it should be, you’re likely leaving the road…
When disaster strikes a business—whether it's a flood, fire, or storm—the path to recovery can…
When the workplace starts to feel bleak, ambition and drive may be low for employees.…
Consider implementing these five things in hospitality management to ensure a positive guest experience, improve…
Addressing the Effects of Toxic Backlinks on Search Engine Optimization Search engines, particularly Google, prioritize…